Using the Storefront to Order
Using the Storefront to Order
Once your file is ready
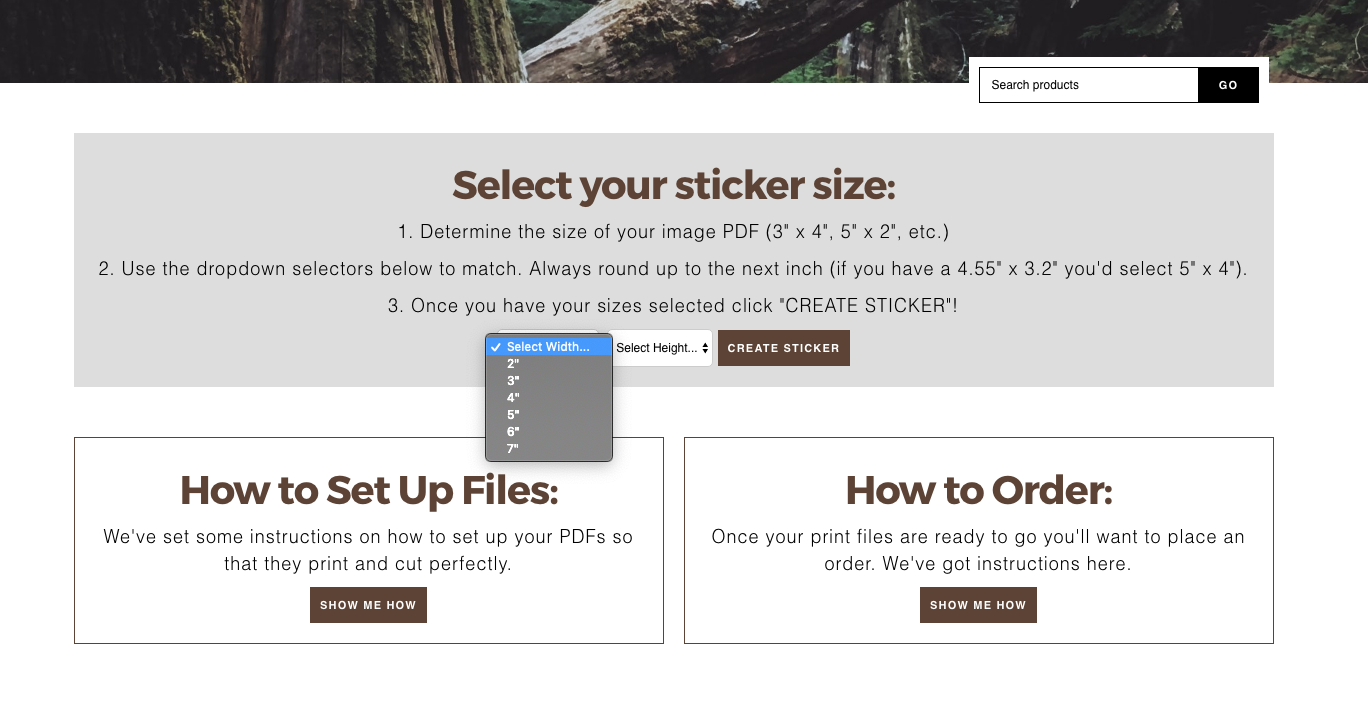
Follow the instructions in the setting up files document, and determine your file dimensions.
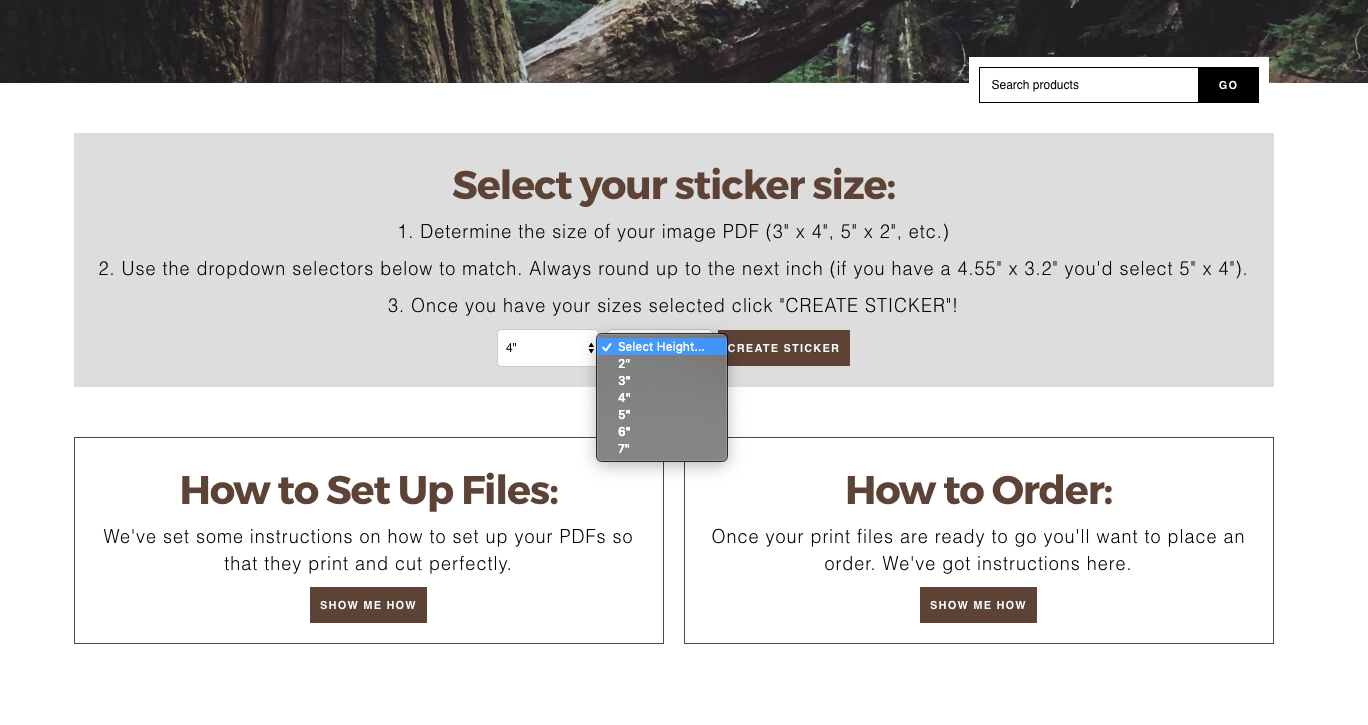
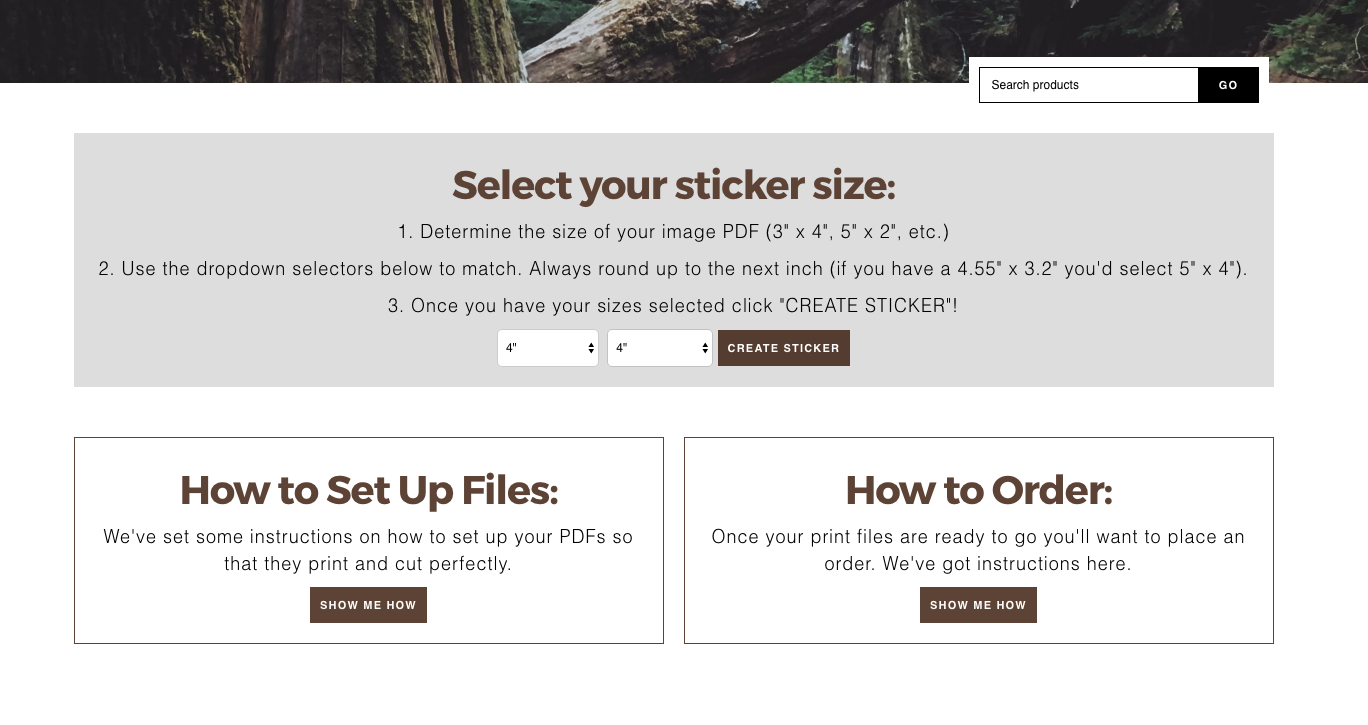
Say for instance, you’ve got a file that’s 4” by 4”. You’d go to the select your sticker size box on the homepage and using the drop downs menus you’d select your width and height. In this case, 4” and 4” and then click create sticker.
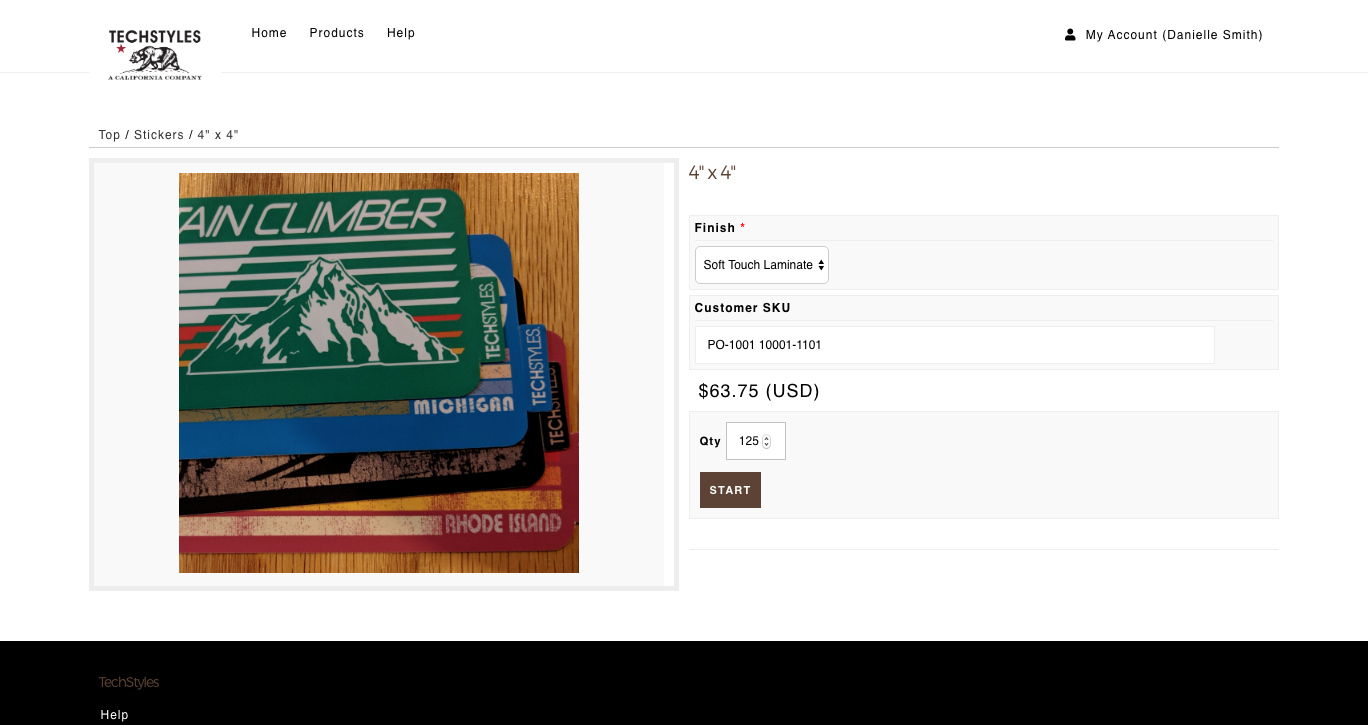
You’ll then see the product options page where you select the finish on your product, in this case soft touch laminate, you’ll add the product sku for the specific sticker that you’re ordering, and you’ll choose the quantity. Once you’ve selected all your options, you’ll click start.
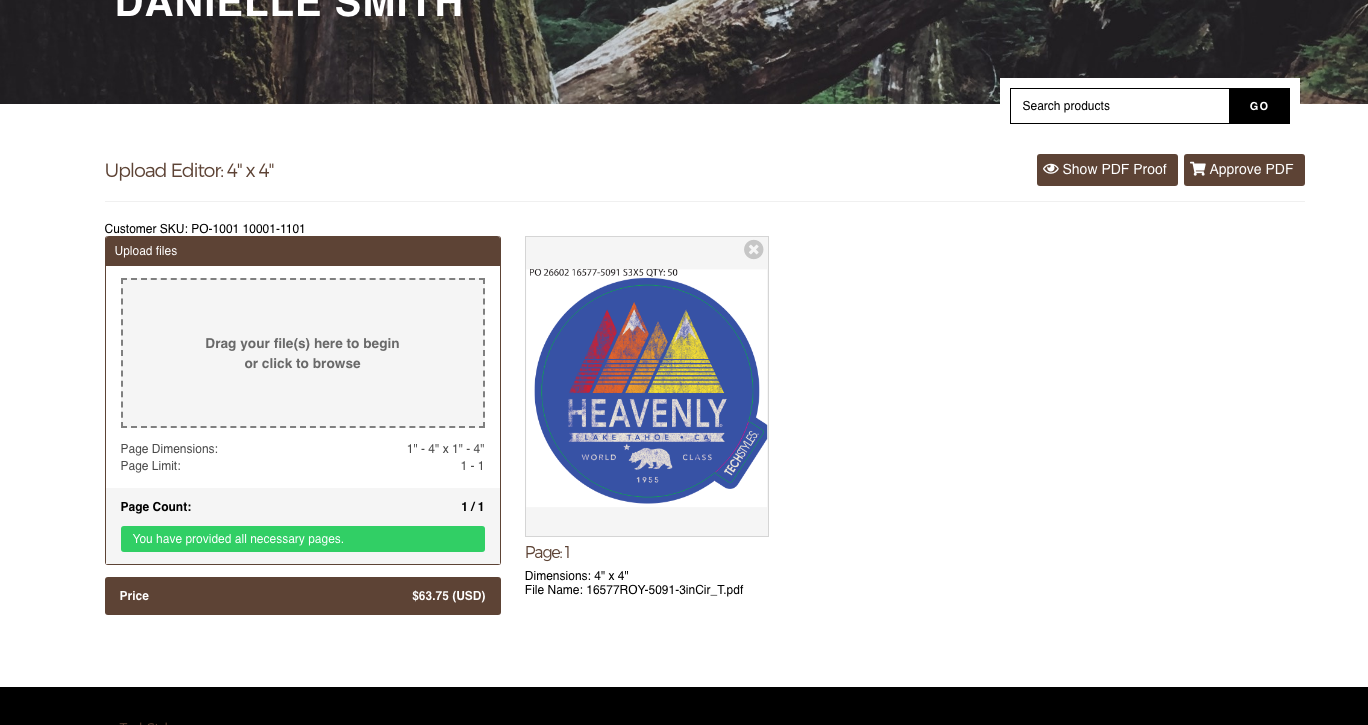
Then you’ll see a box that says “Drag your file(s) here to begin, or click to browse.” You can either take the file you want and drag it from your desktop right into the browser window or you can click to bring up your file manager/finder and get your file from there.

You’ll then see a preview of your file, make sure the dimensions are correct and then click “Approve PDF”.
That will take you to the shopping cart, from here you can either use the Select another sticker size box to add another product to your cart or you can checkout by clicking Checkout.

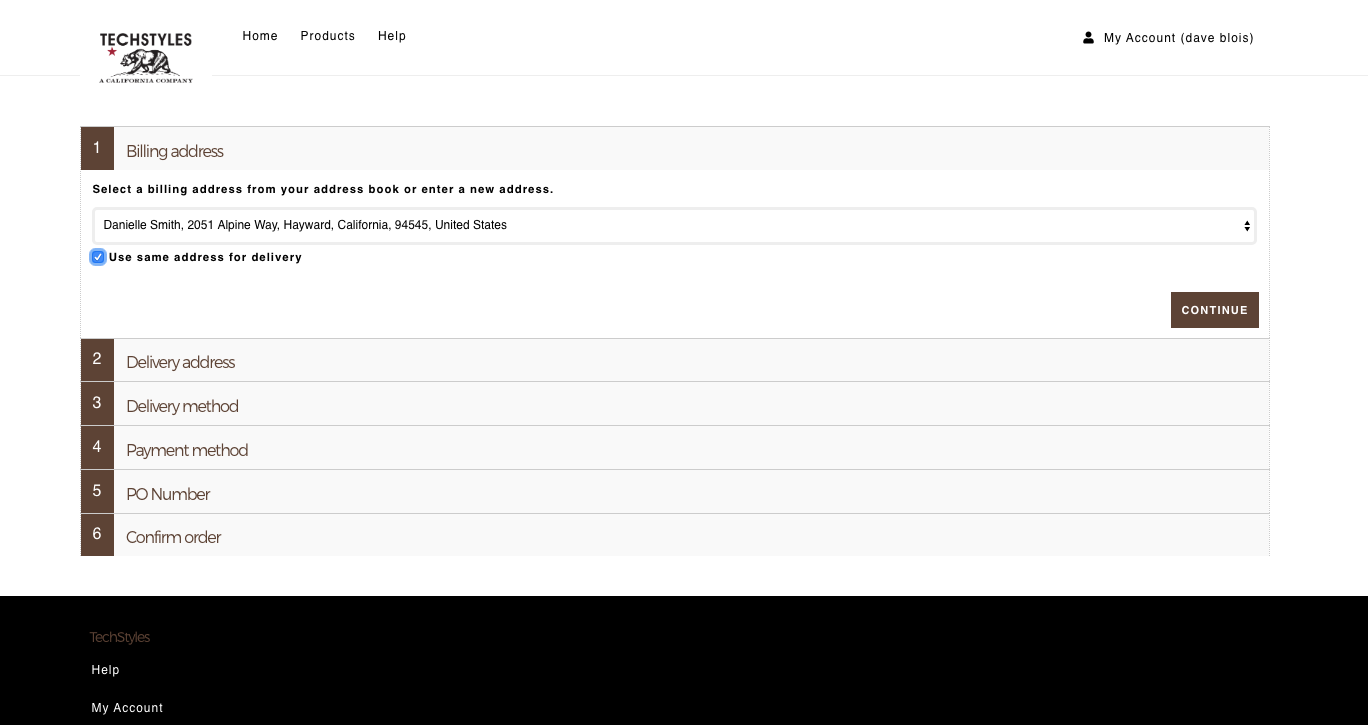
To checkout you either use one of your existing addresses or you add a new one for both billing and delivery.
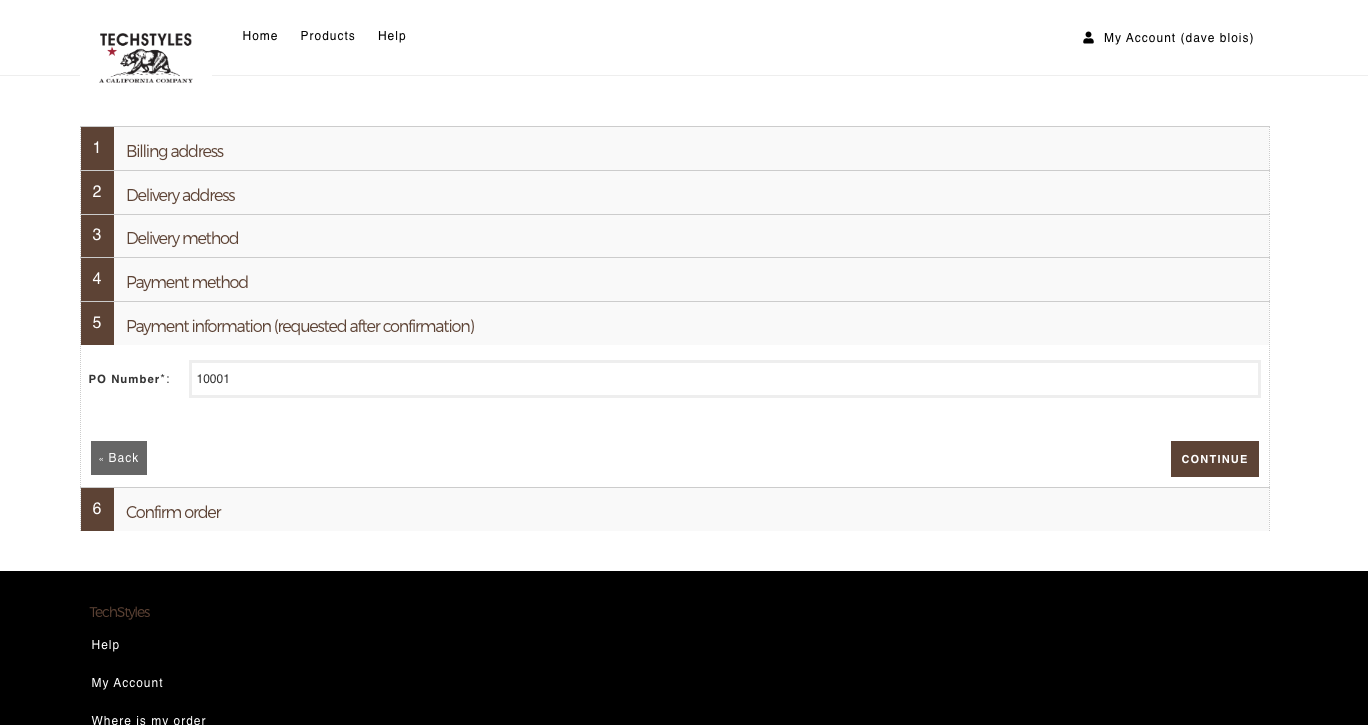
You select your Delivery method.

Add your PO number into Payment Information
Take another look at your files to confirm that they look correct and click Confirm
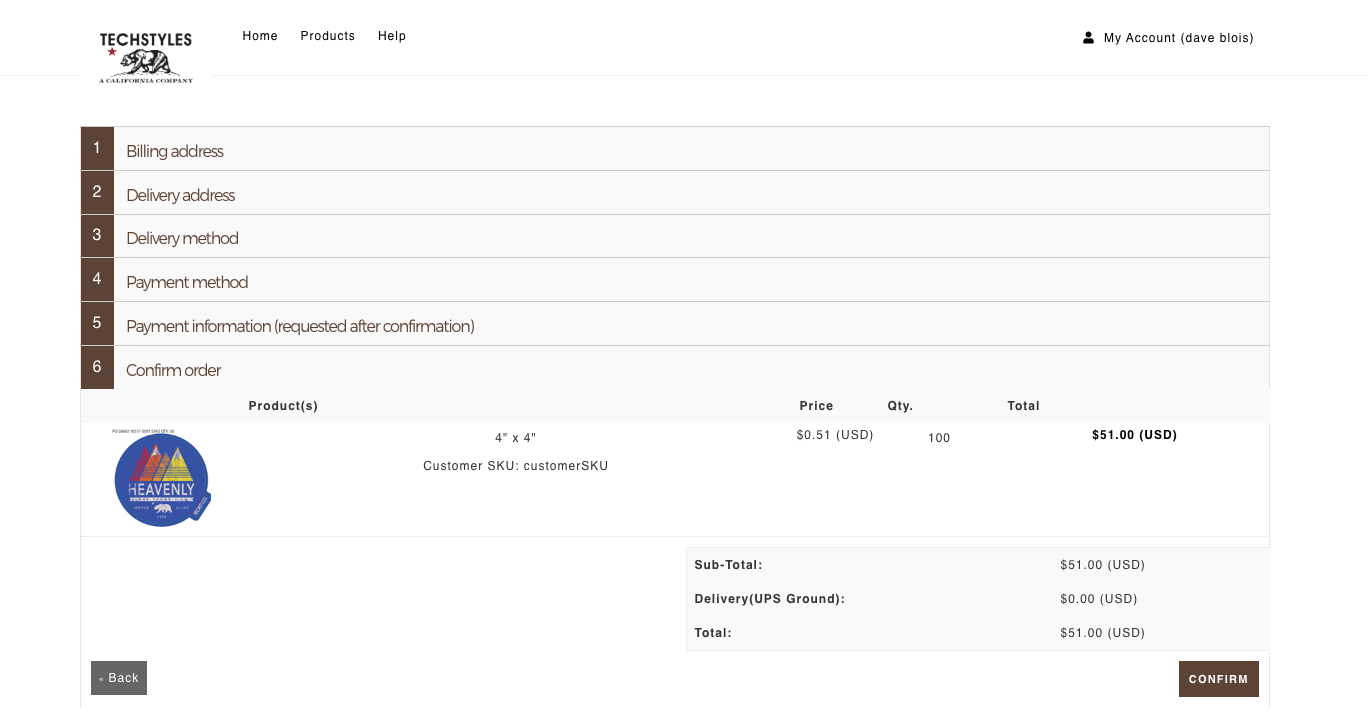
You will then receive an email confirming your order. Once your stickers are printed, cut and shipped you’ll receive an email invoice, with a PDF downloadable copy.