How to Set Up Files
Setting up your TechStyle sticker print files
Instructions and Best Practices
This document assumes that the files are being designed and built in Adobe Illustrator.
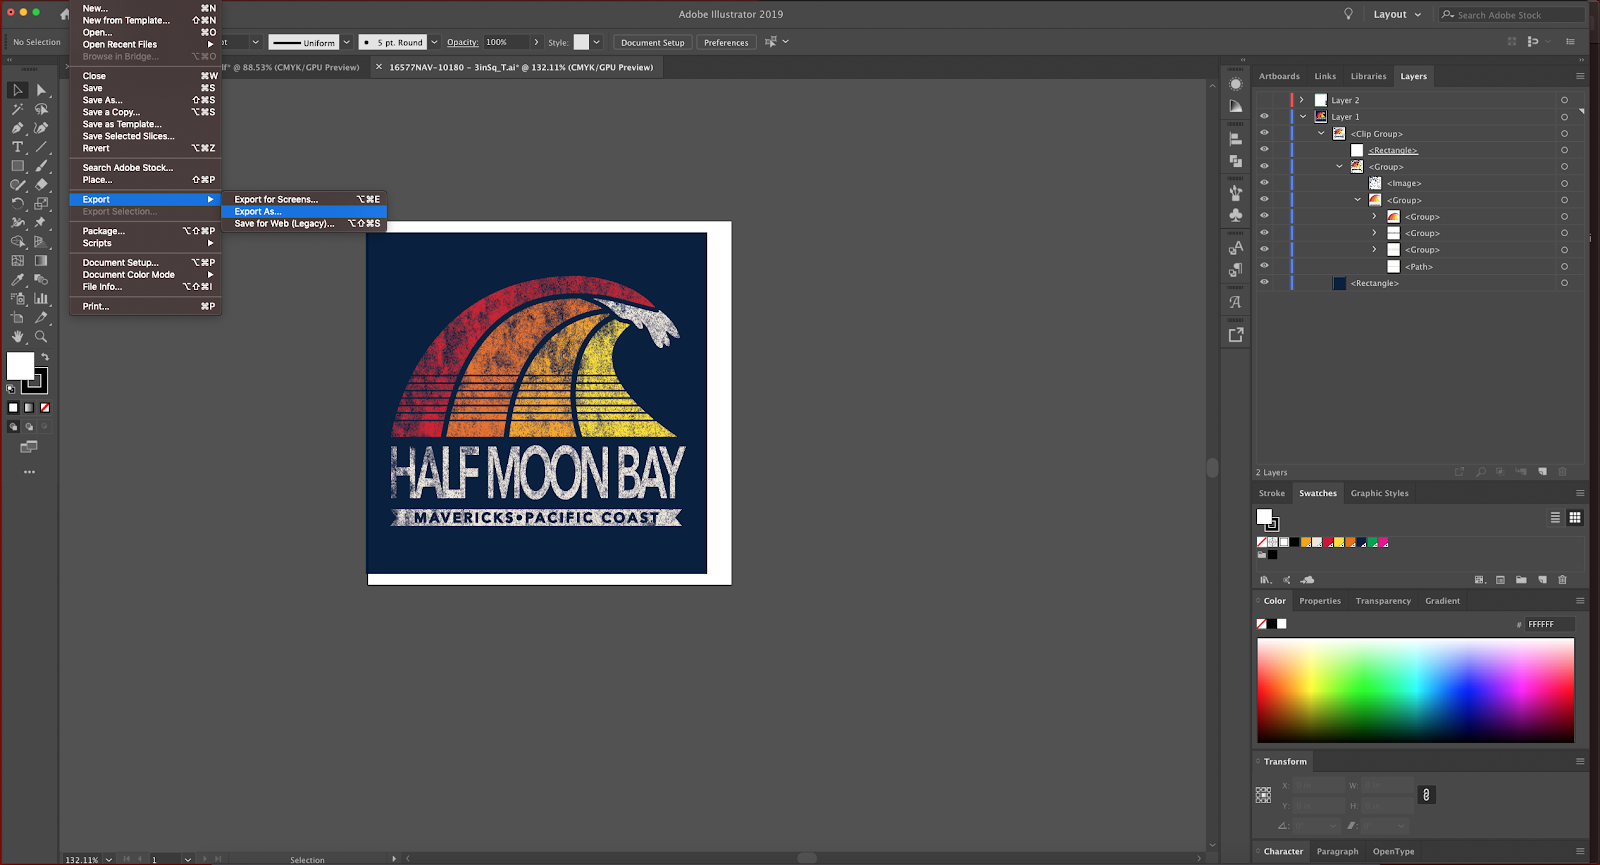
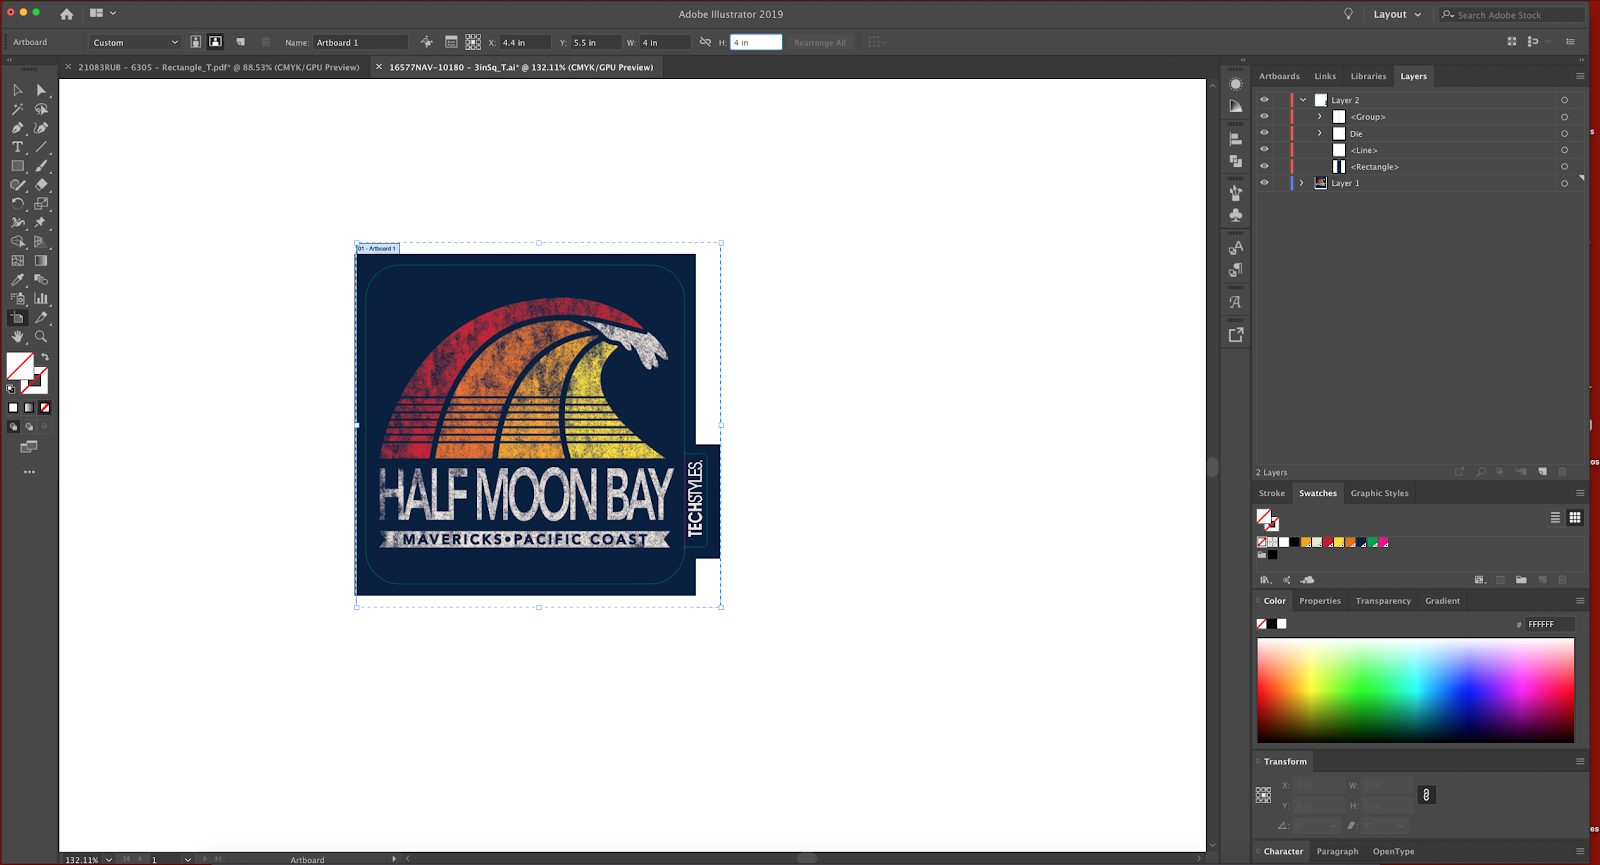
1.Open your design file
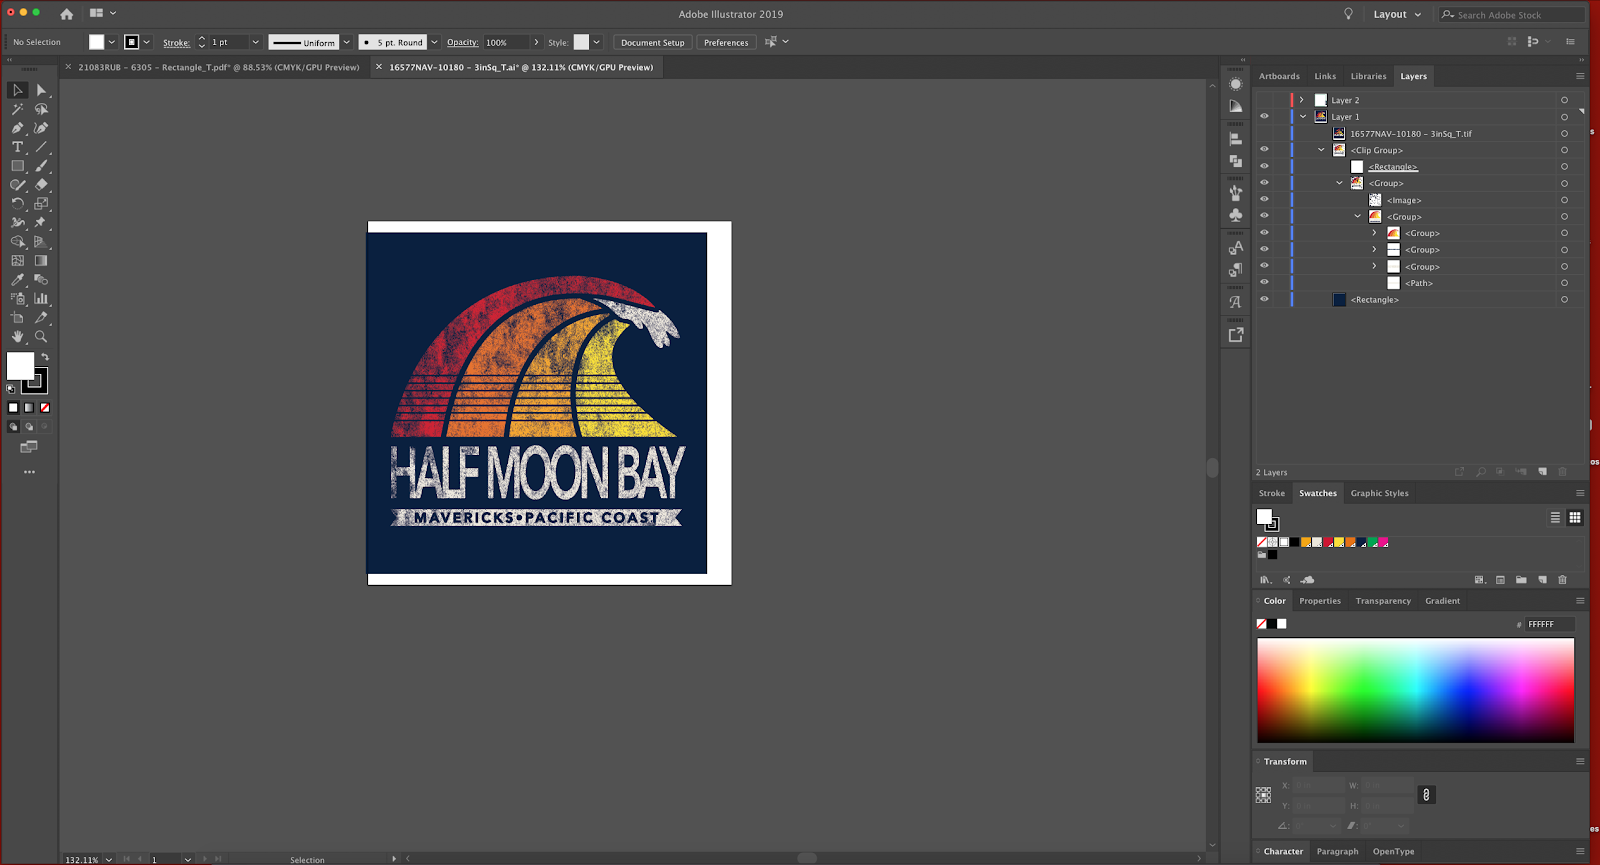
Open your design file in Illustrator, it should look something like this.

2.Rasterize vector images
You’ll might see that your image is made up of multiple layers of vectors. You’ll want to rasterize all of those vector images and layers.
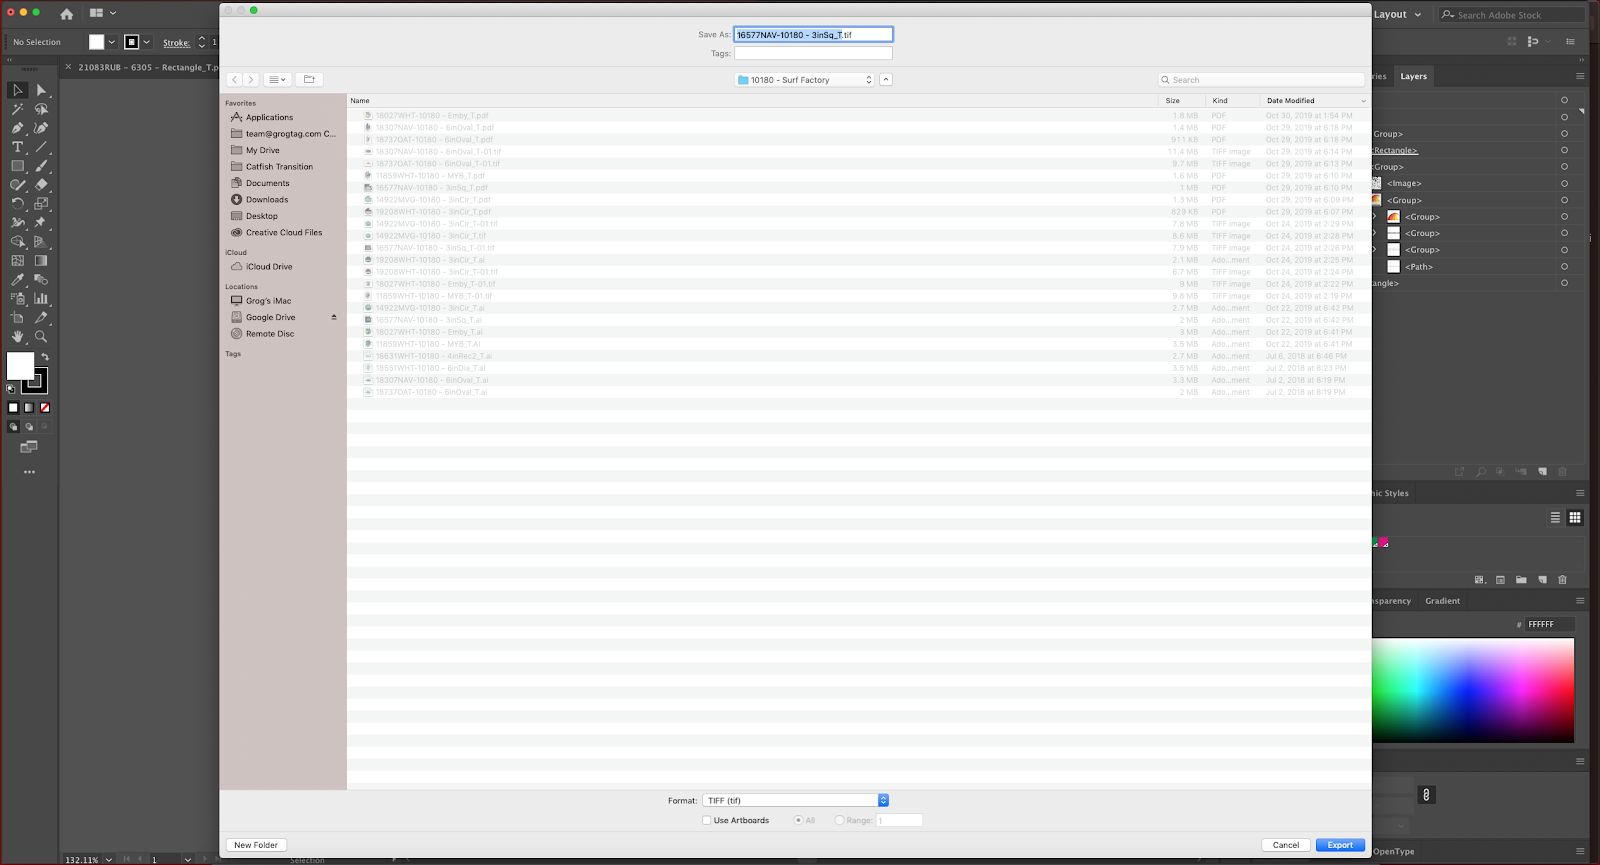
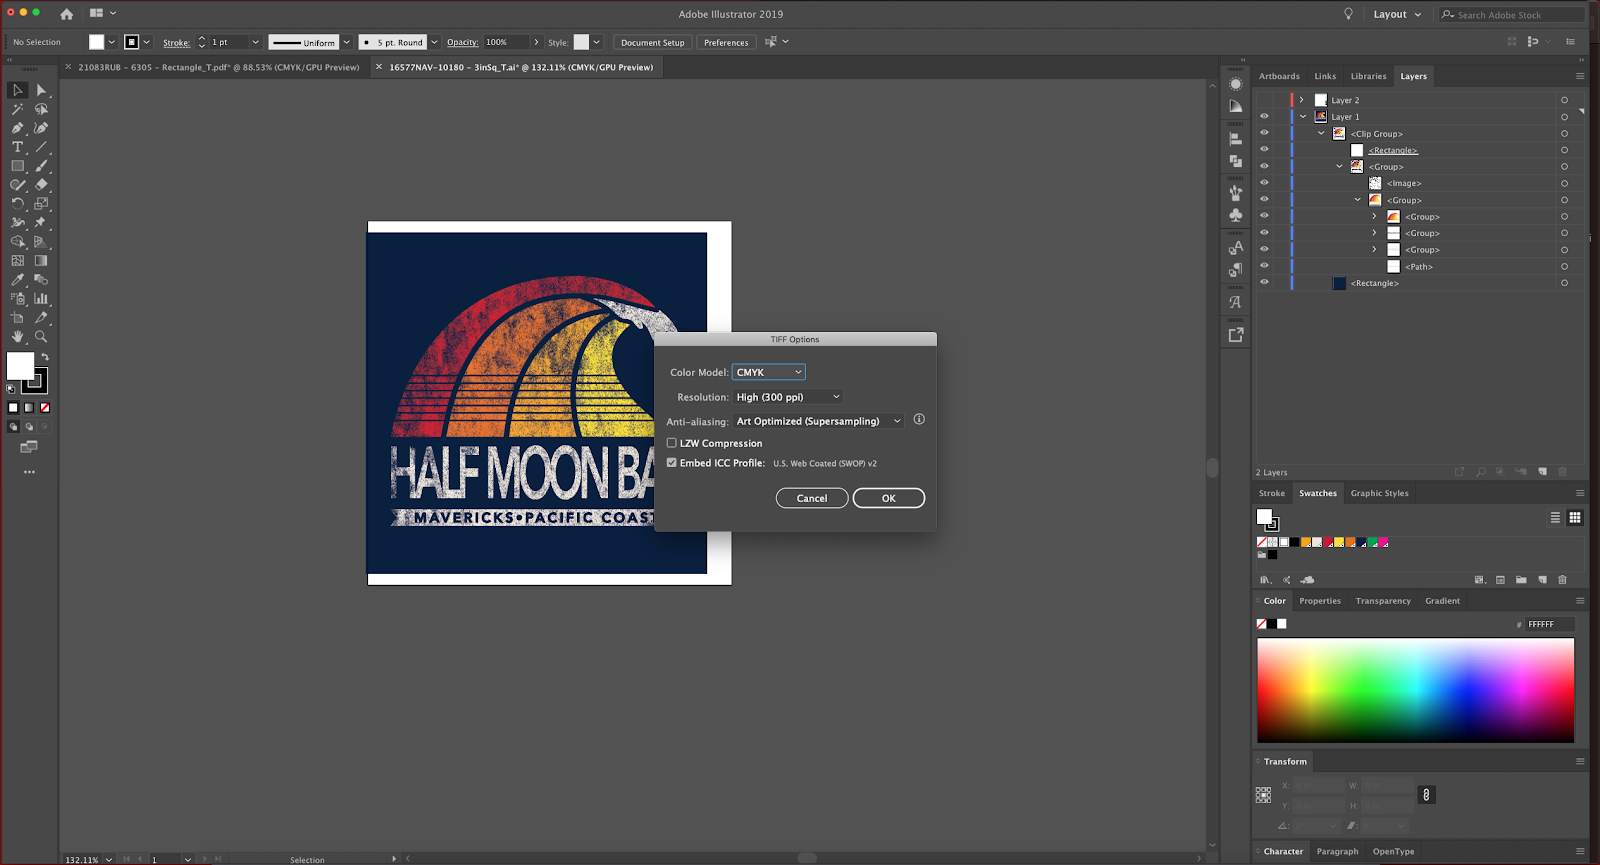
To rasterize, simply export as a CMYK 300ppi TIFF as shown below.
Once the new TIFF image is saved drag it into your file on top of the vector artwork.

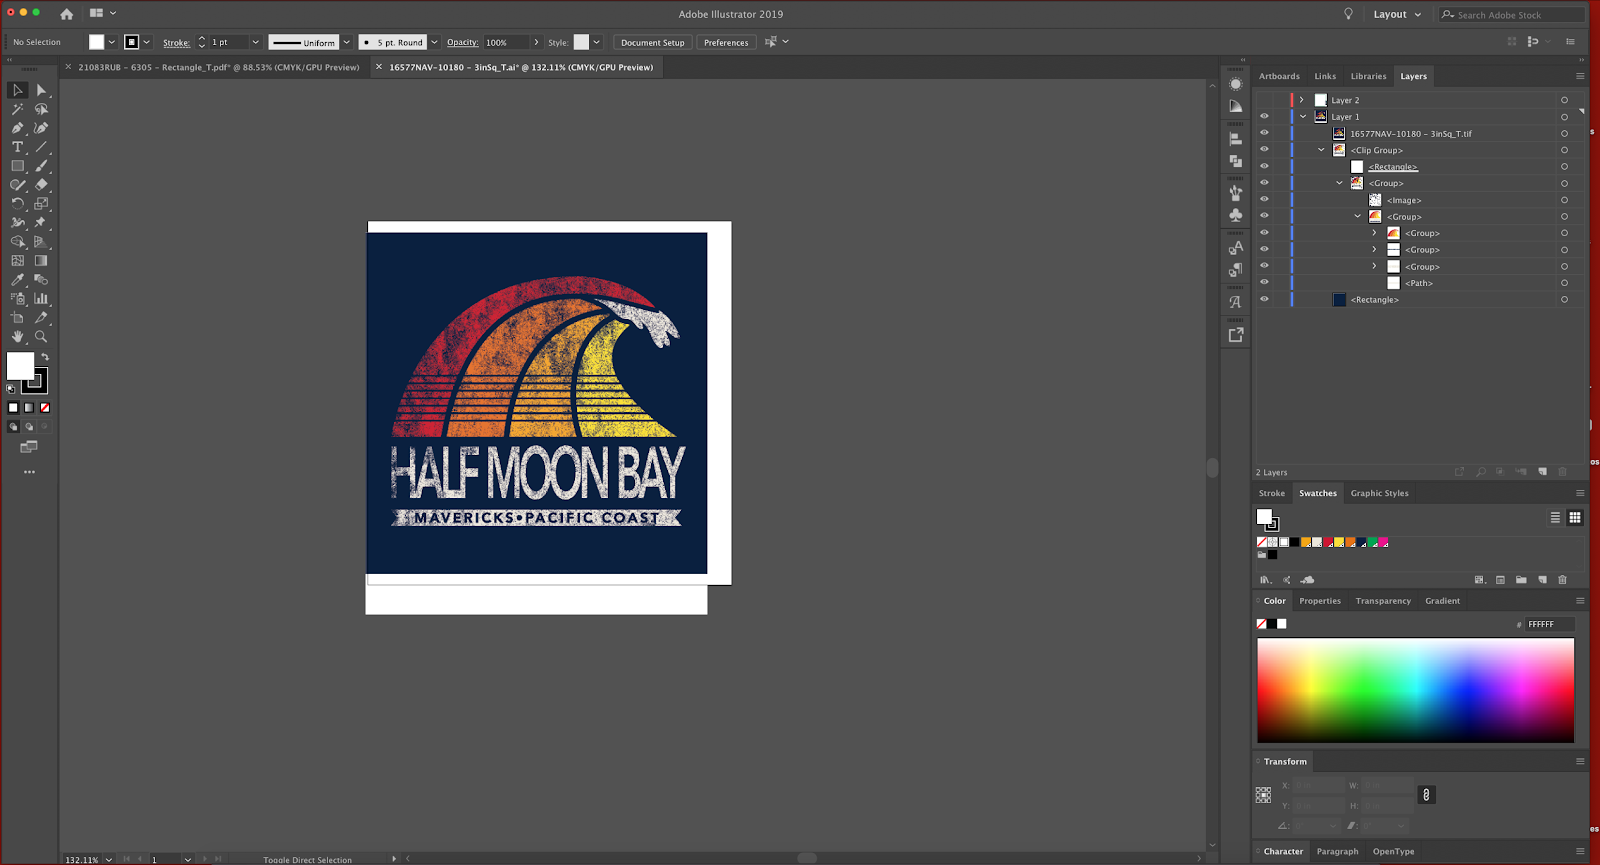
Check to make sure that your new TIFF is lined up with your vector artwork by toggling visibility of the TIFF. If an element is missing from the TIFF or the alignment is off with the vector artwork turning the TIFF visibility on and off will show it.
Once you’re sure that the TIFF image is lined up correctly you can delete the vector art behind it leaving just the TIFF image and a layer for cut lines. (Please make sure you’ve saved as a new file before you delete anything)

Then embed the TIFF image in your file by selecting it and clicking “Embed”.

3.Setting up Cut Lines and PerfCut Lines
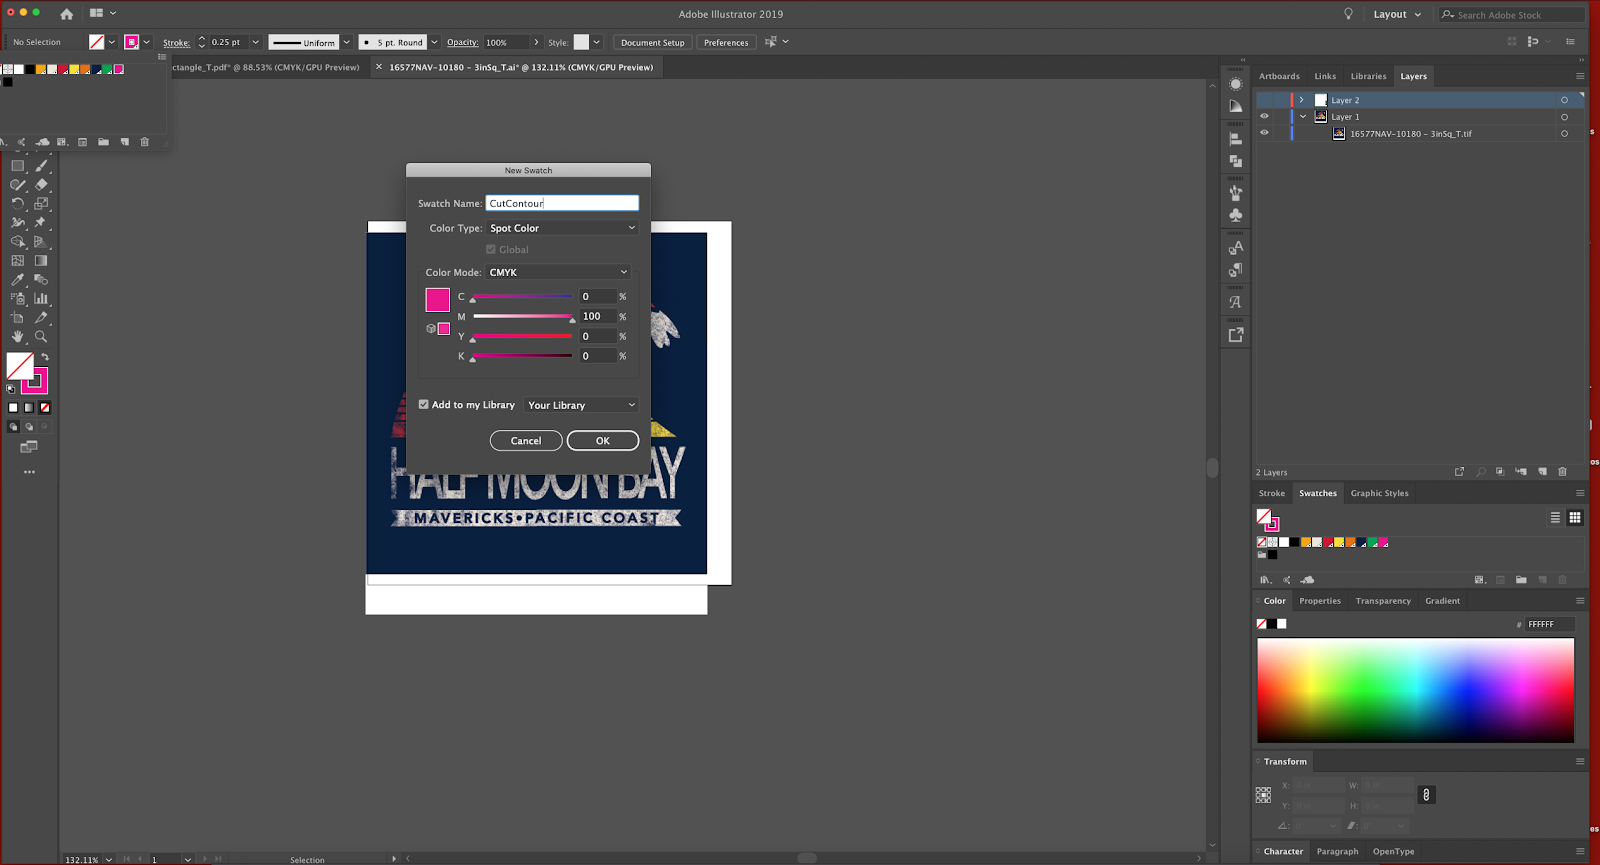
You’ll want to open your swatches and add a new swatch.

Name the swatch “PerfCutContour”, make its Color Type a “Spot Color”, Color Mode “CMYK” and set the color to C=0 M=100 Y=100 K=0 as shown below. This is for a through cut.

Name the swatch “CutContour”, make its Color Type a “Spot Color”, Color Mode “CMYK” and set the color to C=0 M=100 Y=0 K=0, as shown below. This is for a kiss cut.
Then add a stroke where you’d like your through cut to be. Change the stroke color to “PerfCutContour” and the stroke thickness to “.25 pt”
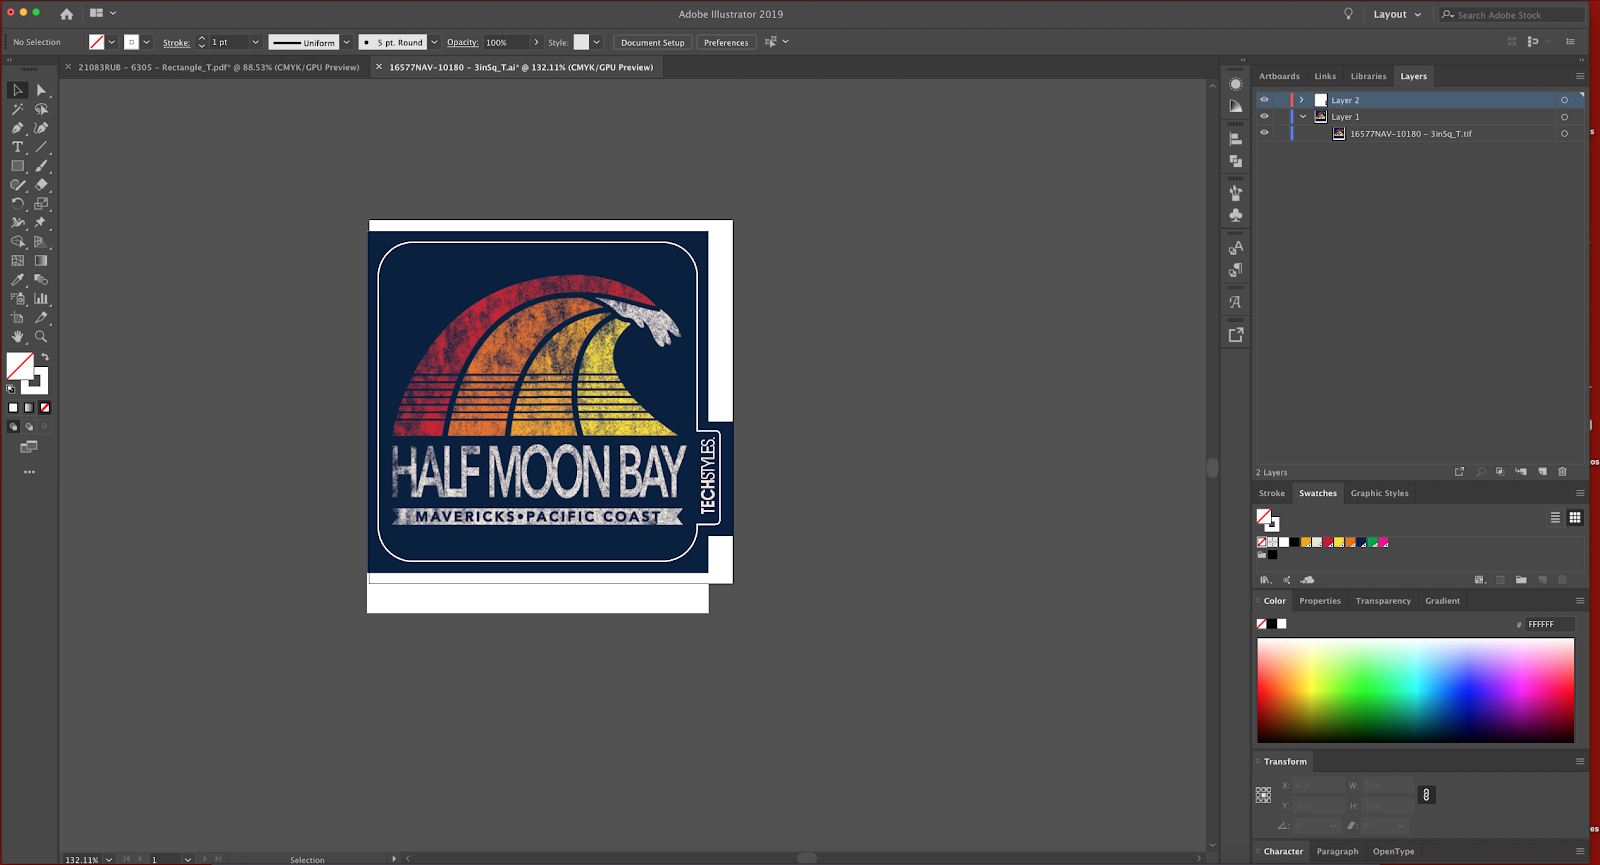

Add a stroke where you’d like your kiss cut to be. Change the stroke color to “CutContour” and the stroke thickness to “.25 pt”


NOTE: The edges of the CutContour and PerfCutContour should meet but have minimal overlap. Otherwise, cutting issues will occur.
Best practices for setting up your Cut Lines.
Avoid Deep Valleys
Deep valleys like this can lead to and are causes of snags and bending of finished stickers.
The less points that are used along a path the smoother the cuts will be.
Keeping Art and Cutlines separated on different layers when building your original file will help aid in making any future corrections more easily accomplished.
4.Artboard Size
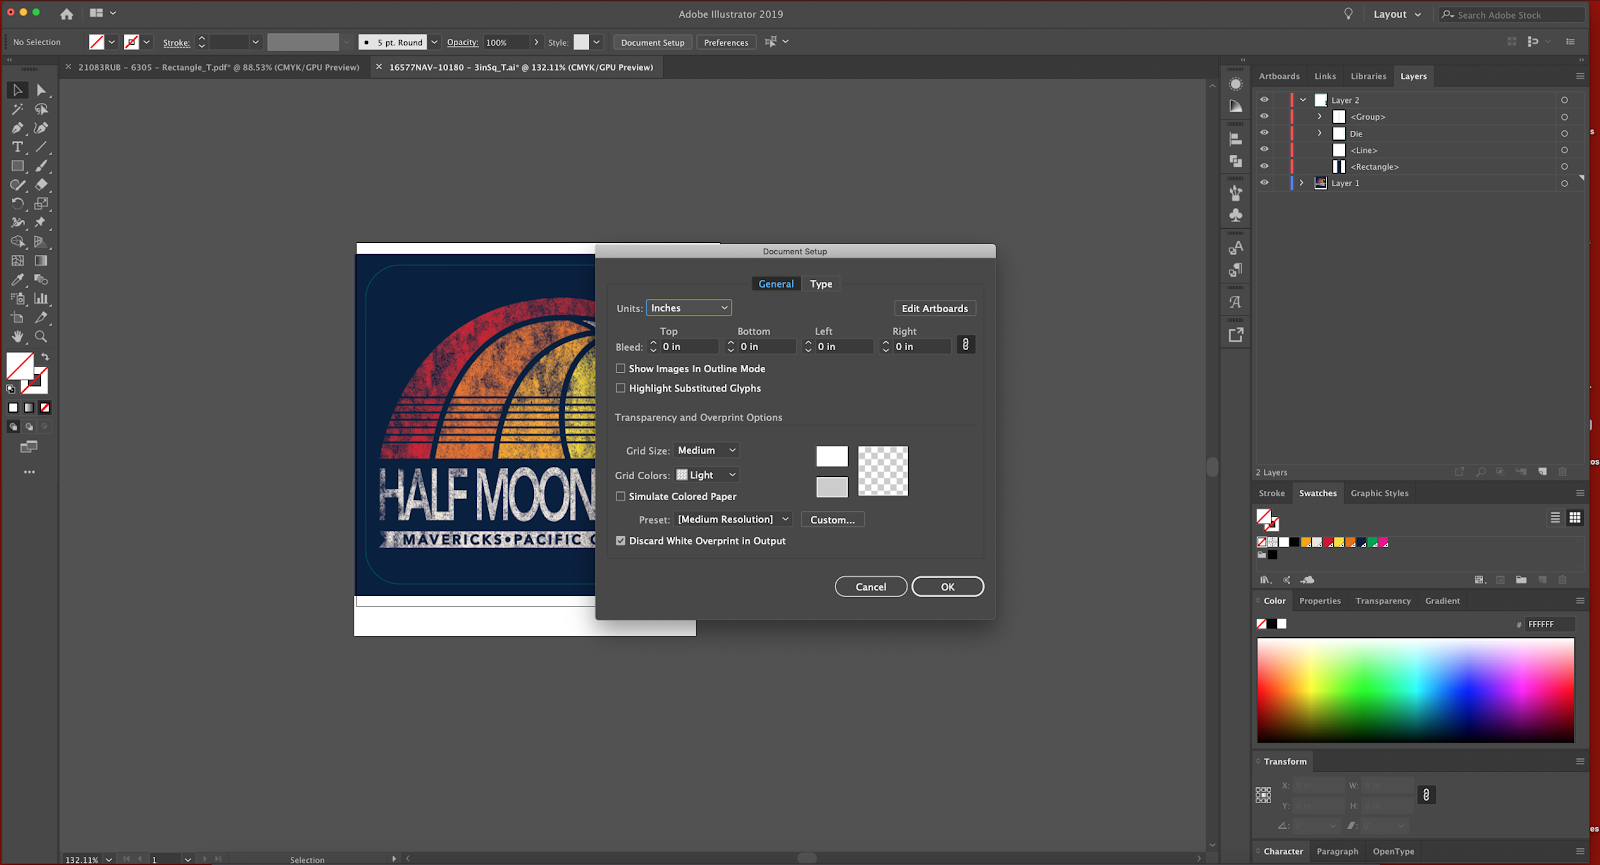
Make sure your artboard size is in full inch increments between 2” and 7”.
2” by 2” is the smallest you can have and the largest is 7” by 7”(you can have a large sticker, but 7” by 7” is the largest currently). 5” by 5”, not 4.9” by 4.75”.
To adjust your artboard go to “Document Setup” and “Edit Artboards”
5.Save the file as a PDF
Once your artwork is rasterized, your cut and perfcut lines are set up correctly, and your artboard size is in whole inches you can then save as an Adobe PDF.
